Sunday, July 20, 2014

Quilting with cats, and other infuriating things.

When I posted my last update, I didn't yet realize I'd reached that new level of craftiness where one uses one's own cells to make a smaller, somewhat fussier version of oneself.  Anyway, crafting sort of got the back burner while I spent all of my energy trying to stay awake and not feel quite entirely like death warmed over. 

The point is that now that I'm halfway through being pregnant, the crafting bug is back!  And in full, nearly overwhelming, force.  Of course, with pregnancy apparently comes all sort of unexpected aches and pains in places that don't really have a right to hurt as much as they do.  My left shoulder is one of those places, so knitting is out for the moment.  Good thing I have a sewing machine!

So I made baby's first quilt!  And some other stuff!

I actually used a pattern this time from the book Last-minute Patchwork and Quilted Gifts by Joelle Hoverson.  Frankly, this book is fabulous.  The patterns are divided up by how much time one can expect to spend on them, and having completed five of the projects it's officially the craft book I've used the most of any I own.  Back in November, I made this little elephant for Lucy from this same book.


Aaaaaawwwwwww.

So anyway, this time the project was for me! (I mean my baby...)  And it's a quilt!

Step one:  Assemble fabrics.  A few of these I actually bought a solid year ago, just because they were cute and I thought I might make baby blankets out of them.  The others I bought to match the theme.  It's funny how you can find all of the rocket ship and space-y patterns one year, but the next it's nigh impossible.  Fashion. Pah!


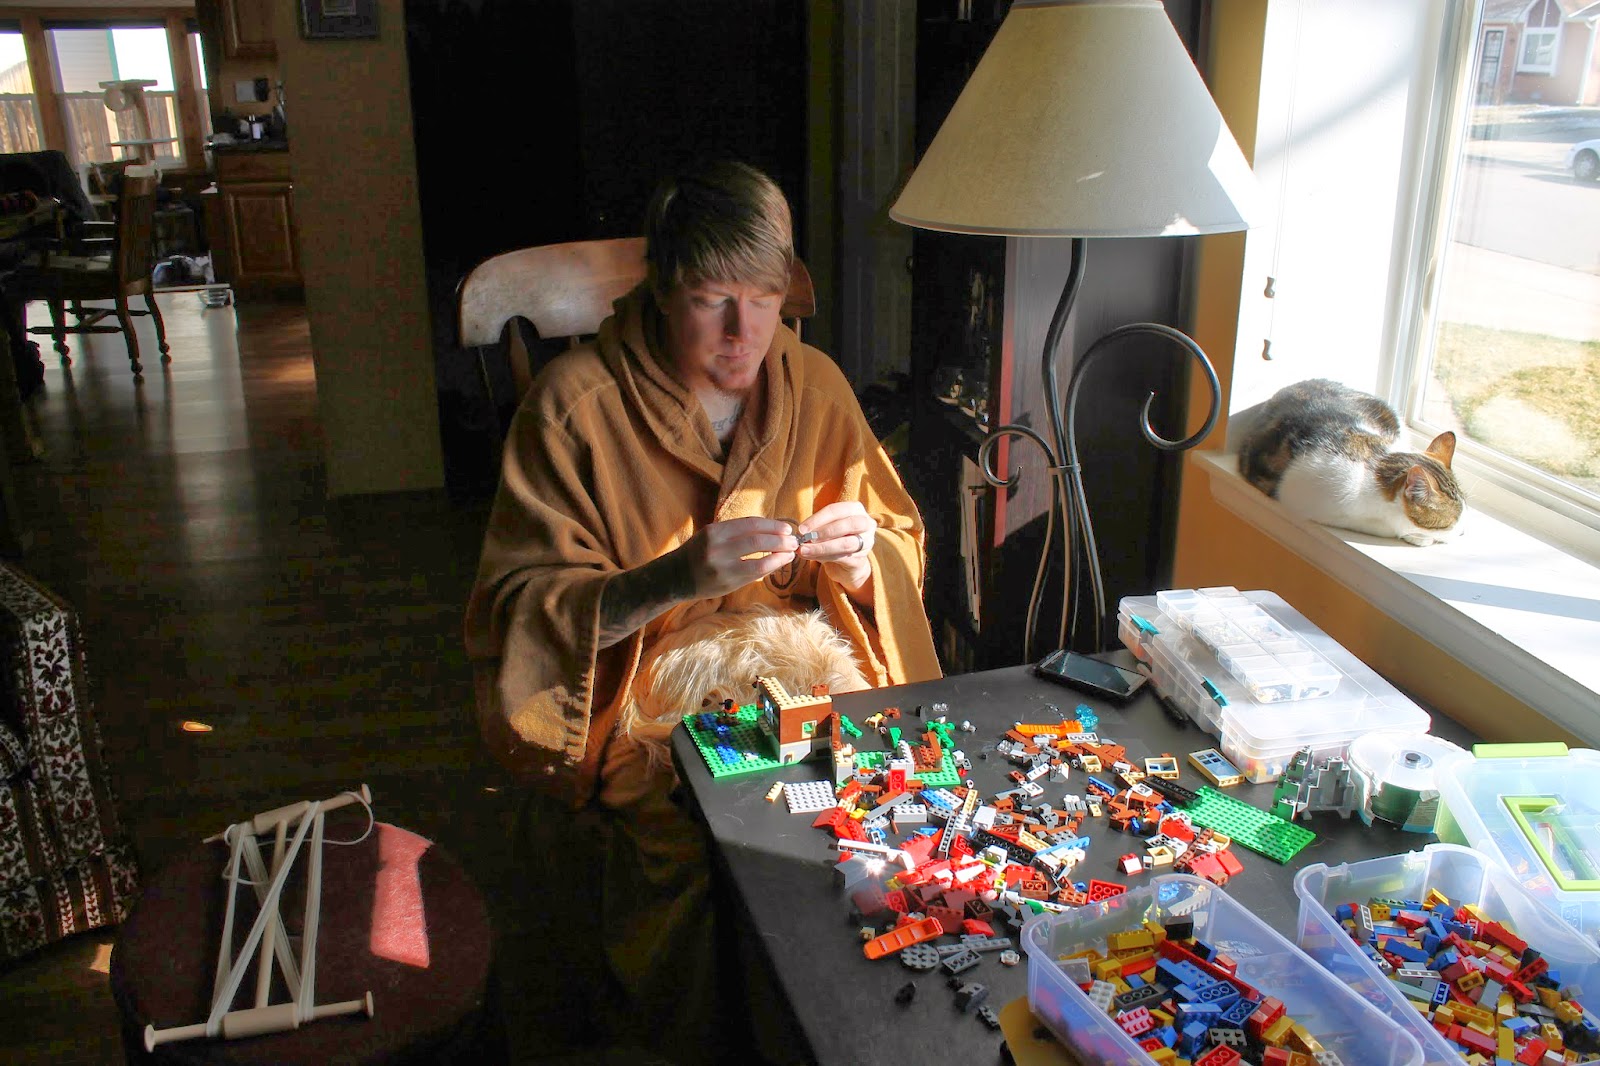
Step two:  Assemble supplies.


Allow me to explain why a squirt bottle is on the list of necessary sewing supplies:


Step three:  Measure and cut your fabric.


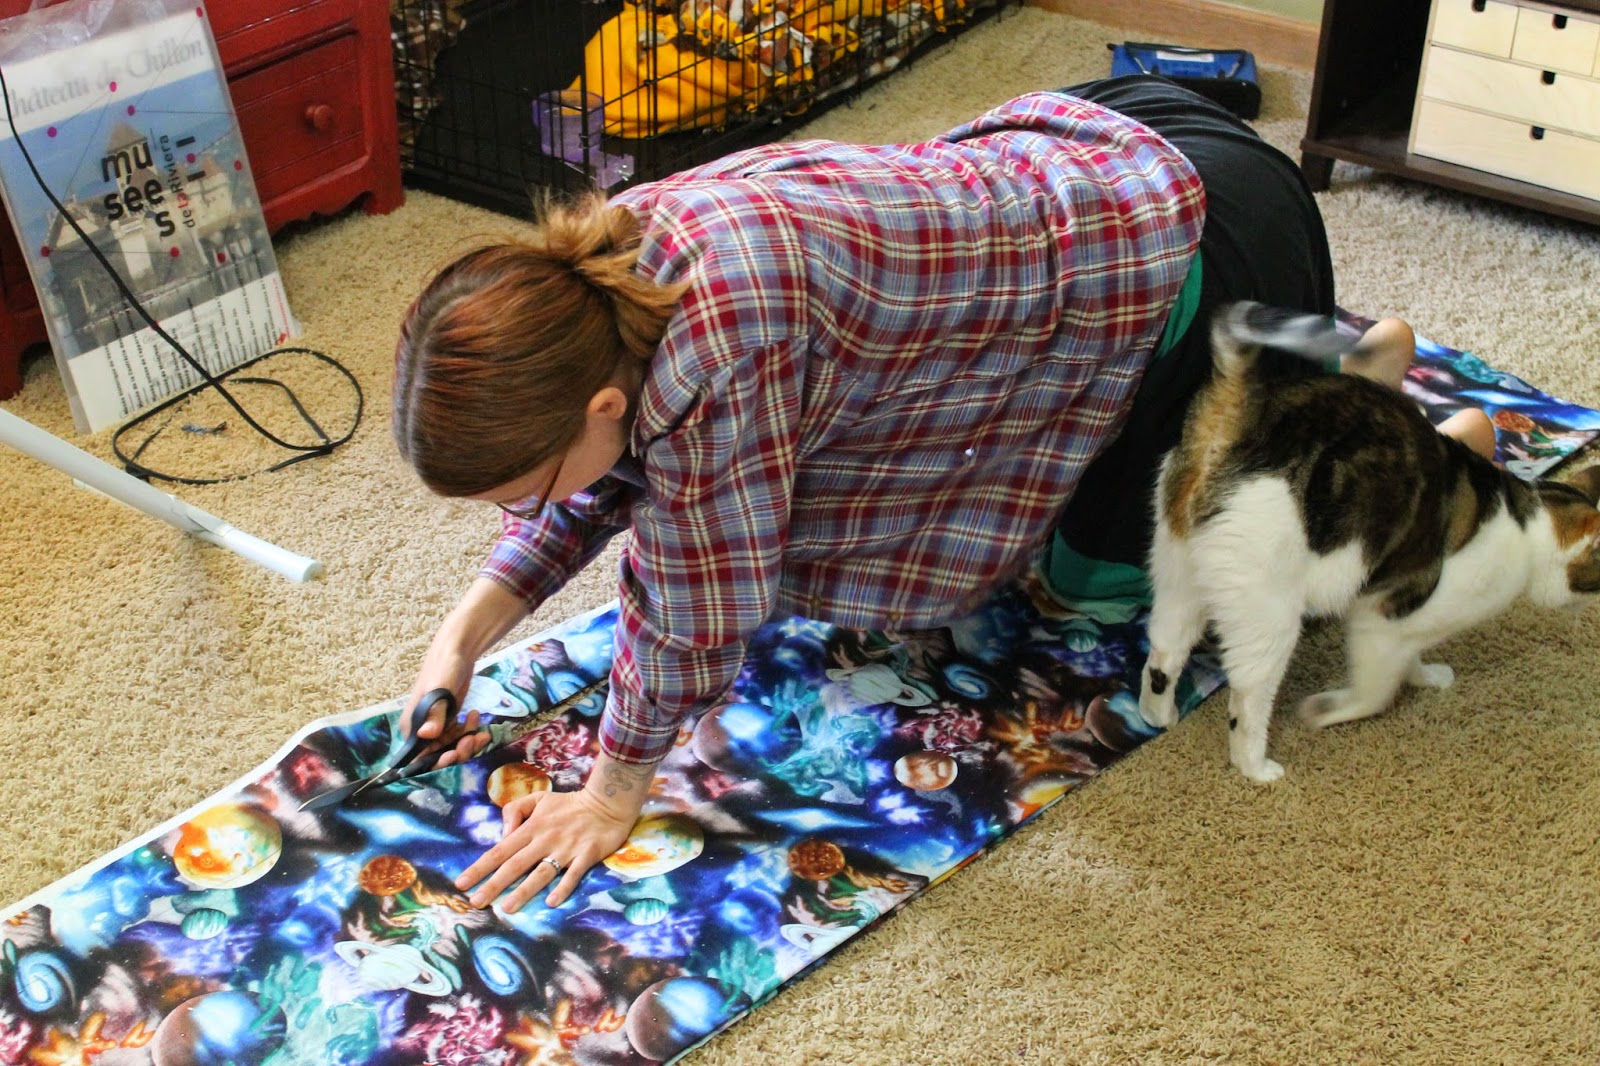
Step four:  Get discouraged because you measured and cut your fabric wrong.  Mope around on the floor a bit to express your displeasure.


Step five:  Recover from moping session.  Fight with cat.


Goddamn cats.


Step six:  Begin sewing.  Maybe.  If you can get the cat to move.


Oh yes, much better.


Step seven:  Forget to record the other steps.  Pose with finished product!


It's possible that I sewed some permanent wrinkles into it.  And the binding is definitely a little wonky.  To be entirely honest, any seamstress worth her salt would be horrified by the finished product.  But I'm not a huge fan of salt and frankly, I am quite proud!

Okay, so then I had all these fabric scraps.  And I was thinking, what can I do with all these fabric scraps?  I made about two and a half times more binding than I actually needed.  Seriously, I could bind another whole blanket with the leftovers.  It's cut into a very long 4-inch strip.  So... what to do with 4x4 inch blocks?  Blocks.... BLOCKS!

Having not had nearly enough of sewing yet, I went through all my fabric scraps and made maybe 7000 (estimated number) 4x4 squares while watching a really, really stupid TV show that later gave me nightmares.

What was I talking about?  Oh yes, scrap fabrics!


And 4x4 squares!


So let me tell you how to make fabric blocks.  Because I'm sure nobody in the history of the internet has thought of this before...

First, you sew your blocks into a flat shape that will hopefully not be confusing to you when you start to get to the really complicated stuff.


Then you get confused and sew your blocks into a horrible noneuclidian mess.


Then you rip out way more seams than you really thought should be necessary, and sew the squares into an actual cube shape.


Turn inside out, stuff, and seam.


Get better and better as you practice more!


These blocks are cat-approved!


And there you have this month's sewing adventure with cats!  Next up, things made out of felt that will hopefully entertain a newborn!  I think.  It's hard to predict what I'm actually going to get around to accomplishing, though, so don't hold your breath.

Sunday, March 23, 2014

Let's Build Legos!

Let me tell you a story about Lego.

Once upon a time Matt and I were a little bit bored, so we went to the mall to find the very best thing there.  Turns out that the best thing was a Lego Lord of the Rings Shelob kit.  We went to Village Inn to build it while eating pie, and thus began a grand (and somewhat expensive) tradition!
 

In the tradition that we have of collecting things, pie and Legos became one of our favorite mid-week past times.  Eventually, we'll have miniature plastic versions of pretty much every scene from the Lord of the Rings movies.


 Perhaps our favorite set was the Tower of Orthanc, which I got Matt for his birthday and which took us a good six months to build.  This monstrous beauty is nearly three feet tall.  And that's an ent with an eagle down to the right.  Hooooom hrrooooooooom.
 

Well, naturally Matt couldn't keep his creativity under wraps.  Pre-made sets with instructions are fun, but sometimes you just need to break out of the mold!  Matt got this fancy computer program to plan his creations, and then found an incredibly complicated website to buy the necessary bricks for $0.02 or so apiece.  The results were delightful.  I posted about the self portrait he made of us in my last update, but here are some other awesome things he built.

This deer head was modeled after something he saw online.


 As was this tiny Starship Enterprise (double-nerding for the win).  Please ignore the cat hair.


These bounty hunters were built in the Cubedude style, as seen in the Beautiful Lego art book I got him for Solstice.


And since he's Matt, he clearly had to make a Godzilla.  The smoke in this model is built using ice cream cone pieces, which is pretty awesome, if you ask me.

 
All this time I was basically sitting on the sidelines, wishing I had the creativity to create my own designs, but just not quite confident enough to do so.  And then lying in bed one morning, it occurred to me that I could build a penguin.


The penguin was quickly followed by a swan.


And a Stellar's jay in a tree.  Matt made a cardinal to keep him company.
 

The only problem now was lack of pieces.  This one is obviously identifiable as a flamingo, but with the right pieces, it could have been so much better! (This one was scrapped.  They can't all go on the bookshelf.)


So then you go to Target and peruse the Lego aisle for kits.  I sort of wonder what we look like, standing there in the toy section, examining all the Lego kits to see what peices are used where.  "Look!  This one has three yellow tooth pieces!"  "Yeah, and this one has black and yellow clips for beaks and feet!"  Who cares what the finished product is; it's all about the pieces now!

The results aren't too terrible, if I say so myself.


Both the vulture above and the peacock below had their preliminary phase where I was rather satisfied with them and they sat on a shelf for a week or two, and then an update phase that took them to that next level of finished.  Like adding a pea hen to entice this cocksure fellow!


These nesting sandhill cranes are unquestionably unfinished.  I ran out of good beak pieces, and I'm definitely not satisfied with that leg.  Plus, I didn't have any white 1x1 round plates for eggs.  Guess it's time for another purchase order...
 

Of course, creating good products takes a good research and development team.  I'd say that we at the Byrde House have one of the best.  You can see that it's a team effort.


While I was building birds this morning, Matt was practicing with piece shapes, trying to figure out new ways to make beaks and wings and necks.  This robot goose will probably be disassembled by tonight, but that doesn't mean it didn't serve an excellent purpose.


Sometimes experimenting with pieces leads to fantastic new creations.  Matt's extra-planetary rover is a result of playing with joints, and repurposing pieces to be used in new ways. I particularly like his use of a pickaxe as radar antenna.  He also had bike handlebars as bumpers (front and back), and that little satellite dish is being held up with a pistol.  I used roof bits to make a red planet for it to explore. (There's life in there somewhere!)

I've saved my favorite for last.  I had a robin in my head for a while but didn't have the pieces to put it together.  Last night we built a kit for an alpine hut with a mountain and cabin.  We'd planned to piece it out, but wanted to build it as intended first.  Plus, we needed something to do while we drank beer at Old Chicago.  I knew it had the robin pieces just waiting for me, but I didn't expect the inspiration for a bird bath.

I'll just go ahead and admit it.  I'm really damn proud of this one.

So there you have it.  Liz and Matt play with Legos.  It's been a fantastic little creative outlet, and I'm quite certain there will be more where these came from!  Like a crow.  I still haven't found the right pieces for a crow.  Except, maybe that one... and... Ok just a minute, I'll be right back.

Sunday, March 2, 2014

Self Portraits

So, I didn't get any process photos for these, but nobody really likes process photos anyway.  So it's short and sweet today.

Matt and I have been working hard at that most important of all artistic endeavors: the self portrait.  First, Matt made these lovely little Lego figures.  It took forever for him to get the right pieces for my socks and my hair.  But I'd say that in the end, they're pretty good likenesses.


 And then, since I took up cross stitching, he designed me this lovely little family sampler.  I know I'm a bit biased, but I think it's amazing.  From left to right, more or less, we have Hermes, Butterstix, Tamama, Isis, Watson, Phaedra, Ariadne, Rasputina, Bianca, Grendel, and Baba Yaga.  Oh, and Matt and me.


Here it is with a frame.  Should have taken process pictures of the framing, but I was too angry to worry about such things.  Of note, framing cross-stitch isn't the easiest thing ever.


And all of our various portraits together on the family shrine.  Damn, we're cute!  Now we just need to add another human to the mix, please!  Oh, and a dozen baby tortoises, perhaps.

Wednesday, February 26, 2014

Lizard eggs!

Last Tuesday, Matt was feeding the beasts while I did something really important (probably playing Bejeweled or something), when he said in a voice that indicated something exciting had happened, "Um, Liz?"

I came running to see, and there were two little eggs on the shelf with Grendel!  Grendel, ourlittle princess leachie gecko had laid eggs!

We thought that was pretty exciting!  Of course, we don't have a mate for her, so there was basically no chance they were fertile.  Right?

Well, we did a little bit of research, and it turns out that there are quite a few anecdotal accounts of parthenogenesis in rhadodactylus species, though none confirmed by Science.  Also, leachies have a spermathaeca, where they can store sperm for years at a time after a single mating.  We got Grendel as an adult, so it seemed quite likely that she'd been introduced to a mate at some point before she came to us.

So we built a little incubator.  Yup, it's a tupperware with moist dirt.  Leachies like basically the same temperatures as humans.  Their eggs incubate between 65 and 85 degrees F, and we keep our house at 72.  Perfect! 

Fun Fact: Reptiles are cool for a lot of reasons.  One of those reasons is that the sex of the babies is determined by temperature during incubation.  Eggs incubated at lower temperatures will take significantly longer to hatch (like, up to 100 days longer), and have a higher chance of producing females.  Eggs incubated at higher temperatures develop and hatch faster, and are more likely to produce males.  There's an art to temperature maintenance in breeding circles.   In leopard geckos, there's also something called a "hot female", which are produced by eggs incubated just above 85 degrees.  They tend to be kind of crazy, and are sometimes less hardy than normal females.  It's fascinating, I tell you.


Ok, so we kept these eggs around for a few days, and then we decided to candle them and actually see what was inside.  Candling is really simple.  You hold a bright light behind the egg, and carefully look through it.  With lizard eggs, you must be careful not to rotate them, because that could kill the embryo.

A fertilized egg with a live embryo will generally glow a sort of soft pink, and you might see veins or a dark mass where the embryo and yolk sac are.  Unfertilized eggs tend to glow yellow.  Here are our eggs:


Yep, definitely not fertile.  But it was still a fun thing to have happen!  I wouldn't be surprised if Grendel continues to lay an egg or two every season now.  I wonder if lizard eggs are good to eat?

This incident did get us really excited about the prospect of jumping into the world of reptile breeding.  A month or so ago, we bought the first female for our Russian tortoise breeding colony.  Meet Rasputina:

She has the cutest little stripey face you ever did see.  And we like to think the little crown on her shell is reminiscent of St. Basil's Cathedral (but we're also aware that we're delusional). She's still too little to breed, but now we're on the lookout for a bigger female to maybe get things going!  Just imagine all the baby tortoises!  Oh man, that's going to be amazing.

It's unlikely that we'll delve into the world of breeding leachies, though.  They tend to be more inclined to fight than to mate, and it can actually be dangerous for the females to be introduced to new males.  Plus, they sell for $400-600 apiece, meaning it's a lot of money lost if your pair doesn't take a liking to each other.  But that's ok.  We don't mind that Grendel's one of a kind.


Sunday, February 2, 2014

OH GOD I'M DYEING.

Oh boy, it's been four months!  Looks like it's time for another blog post.

So, I've been playing Minecraft a lot.  If you didn't know, it's this video game where you go around destroying little blocks and building things out of them.  Some people fight monsters, but I just build castles and make sheep farms.  And then, I figured out how to dye my sheep!  Look at my dyed sheep! (And my awesome castle.)


I was so excited about dyeing my Minecraft sheep that I thought to myself, "Self, you should dye some real sheep."  But I do not know anyone with sheep to dye. :(

Fortunately, I do know where to get wool!  And I did have a sample set of six different dye colors that Matt got me for solstice two years ago  And thus began my first attempt at dyeing.

To start, I went to Hobby Lobby to purchase their cheapest, least colored wool yarn.  I could have used some undyed handspun I've had sitting around, but I figured since this was a first attempt, I should probably start with something I had no sentimental attachment to.  So here we have 93% wool, 7% acrylic blend.  It has clearly been bleached and dyed to this pleasant creamy color, so technically I did an overdye.  But that's just a technicality.


First I had to skein it, to put it in a form that's actually dyeable, instead of being just a large floating mass of dye on the outside and nothing on the inside.  Fortunately, I have a niddy-noddy for just such tasks!


Ok, now we're ready!  So, according to the bottle, you can basically die just from looking at your dye, and they advised all the precautions.  I figured it was a good opportunity to pretend like I was in Breaking Bad, only more wholesome and fewer dead people.  Looking good!


Ok, so here's my step-by-step.  I don't know why I write step-by-steps, because I think they're pretty boring when other people do them, but whatever.  Here we go anyway.

First, the mixing of the dye.  In case you can't tell, I chose a sapphire blue for this first attempt.


We got Matt a fancy new stockpot so that I could use the old one.  Also picked up a pair of tongs, because it seemed like tongs would be good for stirring and transferring and so forth.  Also for pretending you're a crab, but we didn't get pictures of that.


Once it's all mixed, you add the yarn.  It is wet, to take the dye more easily.


Squish it around.


Per the instructions, I brought the dye + wool mixture to a gentle simmer--not quite boiling.  Stirring frequently.  And once it got to the appropriate heat, I added half a cup of vinegar to set the color.


More stirring.  I think I actually stirred it a little too much, as we'll see at the end.


It looks like the world's most disgusting spaghetti!


Once it simmered for 30 minutes, I transferred it to my very clean sink full of warm water and gentle wool detergent.  It's important not to change temperature too quickly with wool, because it might shock the fiber and cause it to felt.


Give it a good wash until the water runs clean...


And there it is!  A pot full of blue yarn!


Then I hung it to dry in the basement.


After hanging for 24 hours, it's still slightly damp.  But the color is fantastic!


On the other hand, I guess I agitated the wool a bit too much, or perhaps my temperature changes were insufficiently gentle.  Because it's pretty felty.  It's a bit like a mass of dreadlocks in some places.


I am hopeful that I'll be able to salvage most of it.  Maybe that 7% acrylic will prove to be my saving grace.  For a first try, though, I'm pretty pleased!  This is why we start with the cheap stuff.

I was going to dye another lot of red today, but then Matt and I went rock climbing instead and my arms turned into stupid little T-rex arms that are incapable of lifting the ball of yarn, much less an entire dyepot.  So I guess red will have to wait another week.

In the meantime, I will attempt to detangle enough of this blue to make a whale for my friend's baby.  Because whales!  And babies!


Just so you know, long term projects are in the works, with all intent to blog once things are at a bloggable stage.  Such projects include but are not limited to:
Cross-stitch extravaganza!
Tortoise breeding!
Presents for babies!

I seem to think that if I make this list at the end, I'll be more likely to actually write said entries in a timely manner.  HAHAHAHAHA.  Who am I kidding?  Let's write a blog about working too much and watching a lot of Star Trek.