Hell yes! Green chile season! WOOOO!
I know, dear readers, that both of you have always secretly wished that this was a cooking blog. Well, today is your lucky day! I made green chili, and now you get to experience the joy of following along via photos and descriptions. A dull experience without getting to partake in the flavorful sensation that is a good batch of green chili. You'll just have to trust me when I tell you how delicious it is. Fortunately for you, I'm also going to kind of give you the sort-of recipe that I more or less use. Yay!
So. First you start with a bushel of chiles. My wonderful husband stopped at a roadside stand on his way home from work Friday and picked out a clothes basket full of hatch chiles, half hot and half mild. They were then roasted in something like this:

Another very important note. When buying hatch chiles, make sure you buy them from some Hispanic guy set up by the side of the road. If your chile provider is the grocery store, or a couple of white kids with dreadlocks, you will have a disappointing hatch chile experience. Only buy from the best!
Once they have been roasted, they look a bit like this:
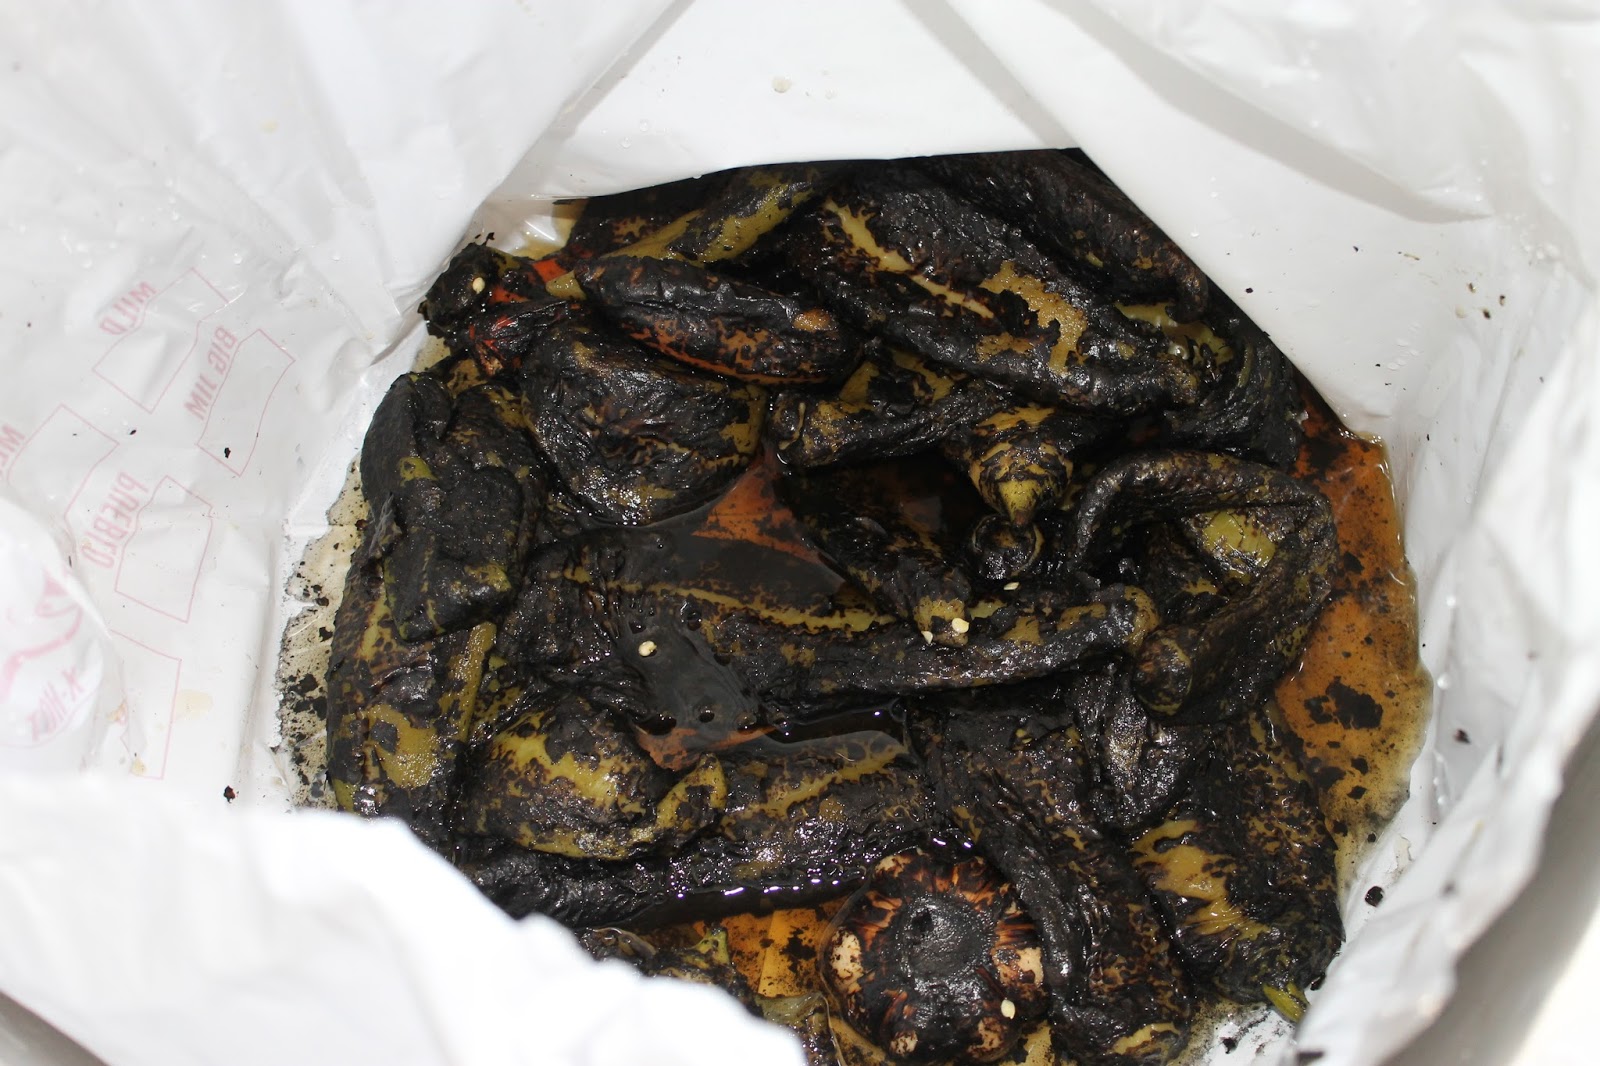
Oh yes. That is what I call a bag of steaming hot deliciousness. Now, this is how you prepare your chiles for chili.
Step One: Wait until your chiles have cooled, then select one from your bag.

Step Two: Cut off the top of the chile.

Step Three: Slice the chile open down the middle.

Step Four: Scrape the majority of the seeds out of the chile. Now, this is really a matter of preference. The seeds are where the capsaicin lives, and therefore where the chiles get their bite. I personally enjoy being able to taste things, and find that there is plenty of heat in the meat of the chiles. I therefore generally scrape out most of the seeds, leaving a few behind for the occasional good wallop. If you're the type to think dinner isn't properly prepared unless you're crying tears of pain, I recommend skipping this step.
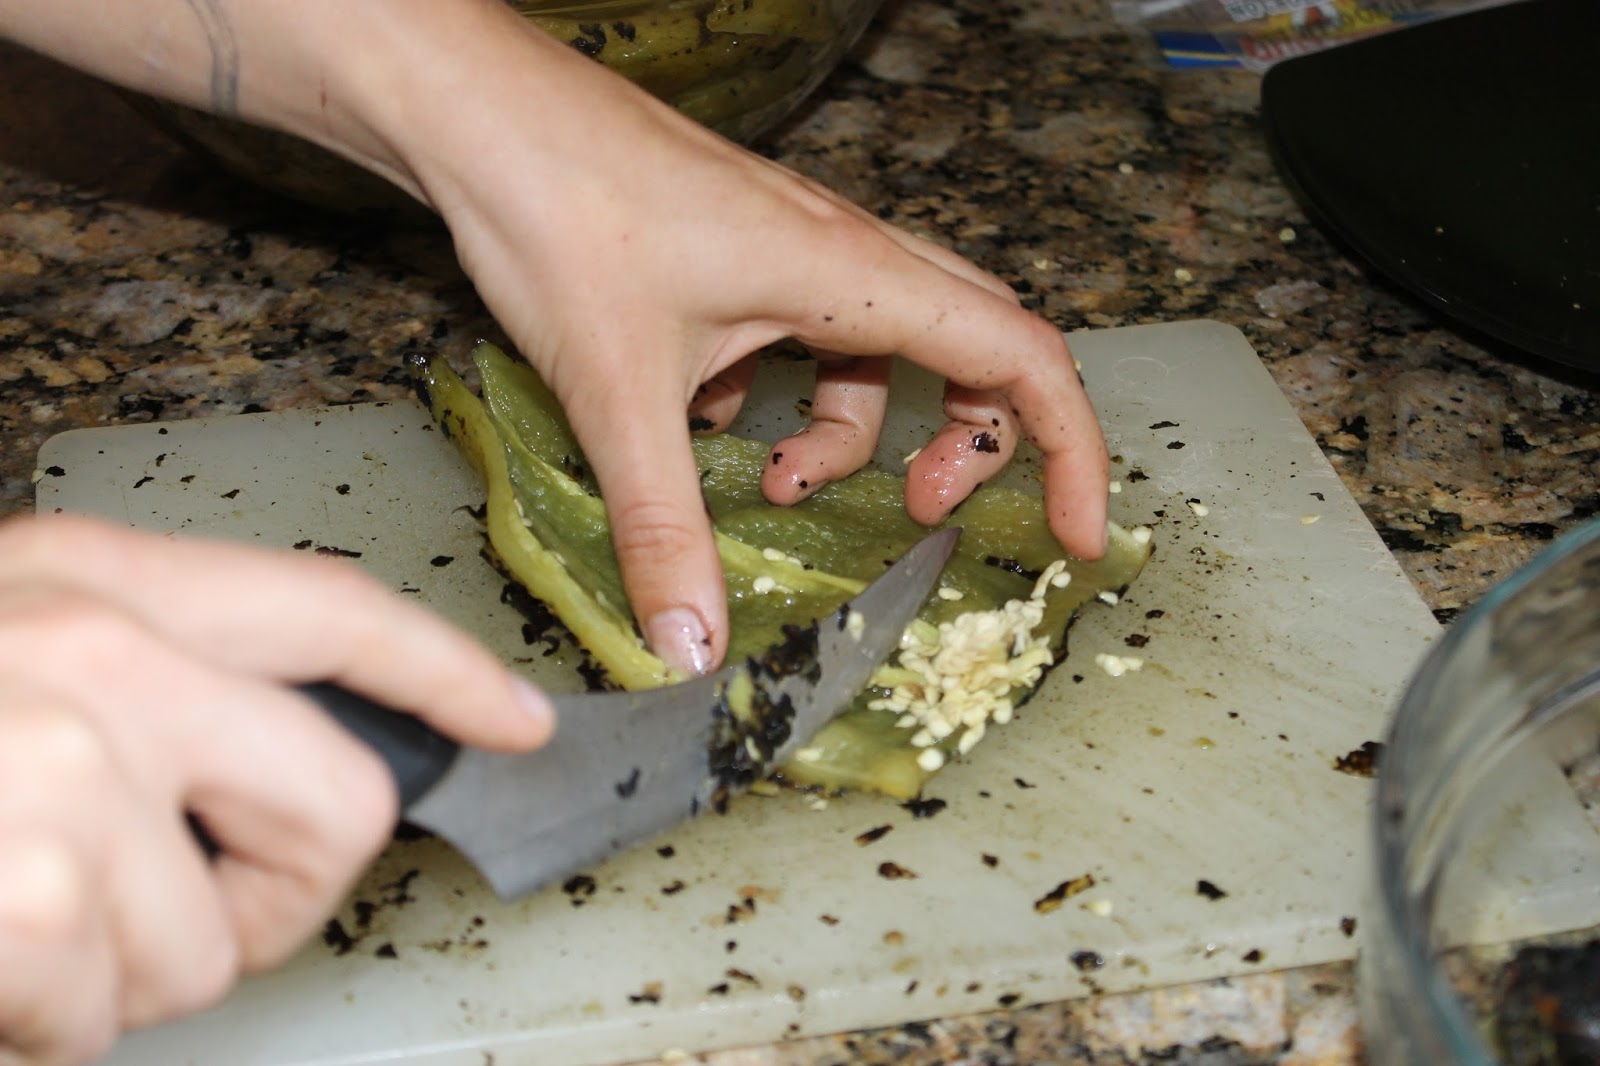
Step Five: Turn the chile over, and scrape off the burnt, flaky skin. You don't have to get it all, but make sure most of it is gone or you'll have a rather unpleasant chile experience.

And there you have it, a beautifully prepared chile. I try to do the whole batch in one marathon run, because it's so much more gratifying several months down the line to grab a bag of already-prepared chiles out of the freezer and go, rather than having to spend another hour with your hands in hot chile water, scraping the frozen skins off all the while cursing your prior laziness.

Matt chose a really good vendor this year, because look at the little extra surprise we got! Mmm, fire roasted garlic. I popped one of those cloves right in my mouth, and will probably smell like garlic for a week. So worth it.

It was pretty short work scraping the hulls off the garlic cloves. And they were so deliciously inviting once I'd finished. Is your mouth watering, or what?

Yay, green chiles! I am never this excited about food. Seriously.

Oh goodness, they're so beautiful.

Ok, so now let's stop drooling and do something with them. (I mean, aside from rolling them up in a tortilla with a little bit of cheese and shoving them in our mouths.)
It's chili time!
Here I took a picture of most of the ingredients for chili, because I hear that's what you do for food blogs. The pork wasn't pretty enough to make the cut, though. And I forgot to include the salt. Also, I only used one ginormous can of tomatoes. So if you're following along at home, take note.

Step One: Get your husband to cut up some pork chops and an onion because you don't like that part. Put both in your crock pot, but forget to take a picture of the diced onions. You know what onions look like, right?

Step Two: Cut up some of those chiles. I used about a dozen, I think. Am I the only one around here who thinks that roasted chiles are so freakin' beautiful?

Step Three: Crush up a few cloves of that amazing roasted garlic. I used five. Pretty sure. May have been twelve.

Step What Are We On? Four? Step Four: Dump a can of tomatoes on that business. Then fill the can up with water, and dump that in, too.

Step Five: Add two generous spoonfuls of better than bullion, or your preferred stock-making product. So slimy and golden. Man, I'm a pretty good photographer.

Step Six: Salt. About this much. Matt bought this fancy-ass sea salt, so I probably used too much.

Step Seven: Add a lot of cumin. When you think you've added enough, put in a little bit more.

Step Eight: Stir it all together. Carefully, so you don't overflow it all over the counter.

Step Nine: Set to simmer for many hours.

You know what's in that cool retro crock pot? That's right, some incubating chili. I can almost imagine that I'm already smelling it.

So obviously you're gonna need a much bigger pot of you want to use that entire bushel of chiles. You're also gonna need a whole lot of friends to help you eat it. Since I have neither, I divide the rest up into freezer bags. I put about a dozen chiles and five or six of those garlic cloves in each.

And then I tuck them away in the freezer under the toaster strudels for safe keeping. Good night, pretty chiles, I'll see you when I'm freezing this winter!

So then you wait oh, six or seven hours. In the meantime, you could build some tortoise stairs.

You know, to help your tortoises get up the human stairs. Everyone has that problem, right?

And you could discover that there's an archery range within walking distance of your house, where they charge crazy low prices to shoot arrows at things for as long as you could possibly want, but you didn't take pictures, because you didn't want to look like more of a n00b than you already did while you were dropping your arrow on the ground and shooting the wrong target.
Then, when all those hours are up, Step H: Ladle a little bit of that delicious chunky green chili into another vessel, and blend it for improved texture.

Step Butterflies: Look at your beautiful green chili! Oh, so golden and meaty and delicious. (Green chiles are prettier before they are chili, but you need a shot of the finished product, right?)

Add some cheese, and a spoon.

And enjoy! Attractively.

Everyone looks good when eating chili. That's a fact.

No comments:
Post a Comment